Deploying the web site
Now that you have a directory with your web site and a Dockerfile with container build instructions, you can deploy your web site to the PaaS.
The only way to deploy an application (in this case your web site) to the PaaS is through GitLab. We therefore need to go through some setup first:
- Create a GitLab project for your web site.
- Push your current files to that GitLab project.
- Enable Kubernetes integration for your GitLab project.
- Add Kubernetes and GitLab CI/CD configuration files to your GitLab project.
Once all these parts are in place, GitLab CI/CD will deploy your web site to the PaaS.
Create GitLab project
To create a new project in GitLab, go to gitlab.sikt.no/projects/new. Enter a name for your project.
Next under Project URL, there is a dropdown to select where the project should be created. Here you must select a group that you have access to.
Tagging projects with ownership
- Private projects do not need to be tagged for ownership.
- If the project's parent/root group already has ownership, tagging the project is not required.
- Otherwise, tag the root/parent group of the project with the appropriate ProductTeam-entraID or ProductArea-entraID in the "Description" field. The instruction is available here gitlab.sikt.no/projects/ownership.
The form should look like:
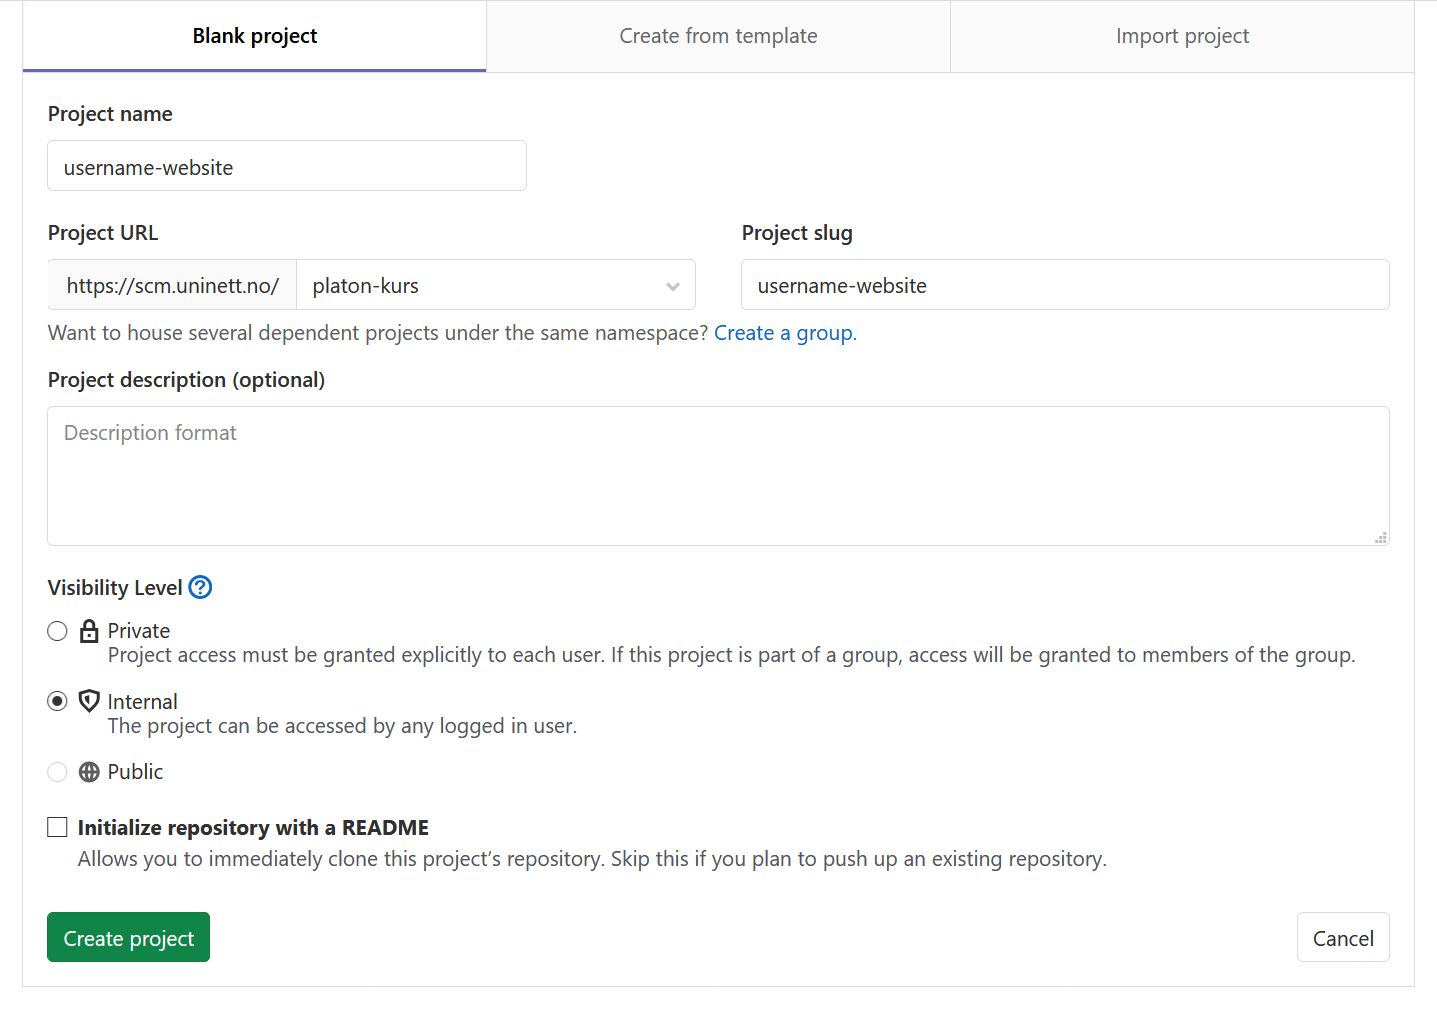
After you have entered a project name and selected a group to create the project under, click the "Create project" button to create the project.
This creates the project and takes you to your new project in GitLab.
Pushing your current files to GitLab
Now that you have a project for your files, you need to push your current files to that project. On the project page for the new project, there should be some instructions for pushing an existing directory:

Run those instructions (except the cd existing_folder-line) in the directory you created previously.
You should receive output like:
$ git init
Initialized empty Git repository in /home/username/my-web-site/.git/
$ git remote add origin git@gitlab.sikt.no:platon-kurs/username-website.git
$ git add .
$ git commit -m "Initial commit"
[master (root-commit) 56f9c0d] Initial commit
 2 files changed, 3 insertions(+)
 create mode 100644 Dockerfile
 create mode 100644 index.html
$ git push -u origin master
Enumerating objects: 4, done.
Counting objects: 100% (4/4), done.
Delta compression using up to 8 threads
Compressing objects: 100% (3/3), done.
Writing objects: 100% (4/4), 328 bytes | 328.00 KiB/s, done.
Total 4 (delta 0), reused 0 (delta 0)
To gitlab.sikt.no:platon-kurs/username-website.git
 * [new branch]      master -> master
Branch 'master' set up to track remote branch 'master' from 'origin'.
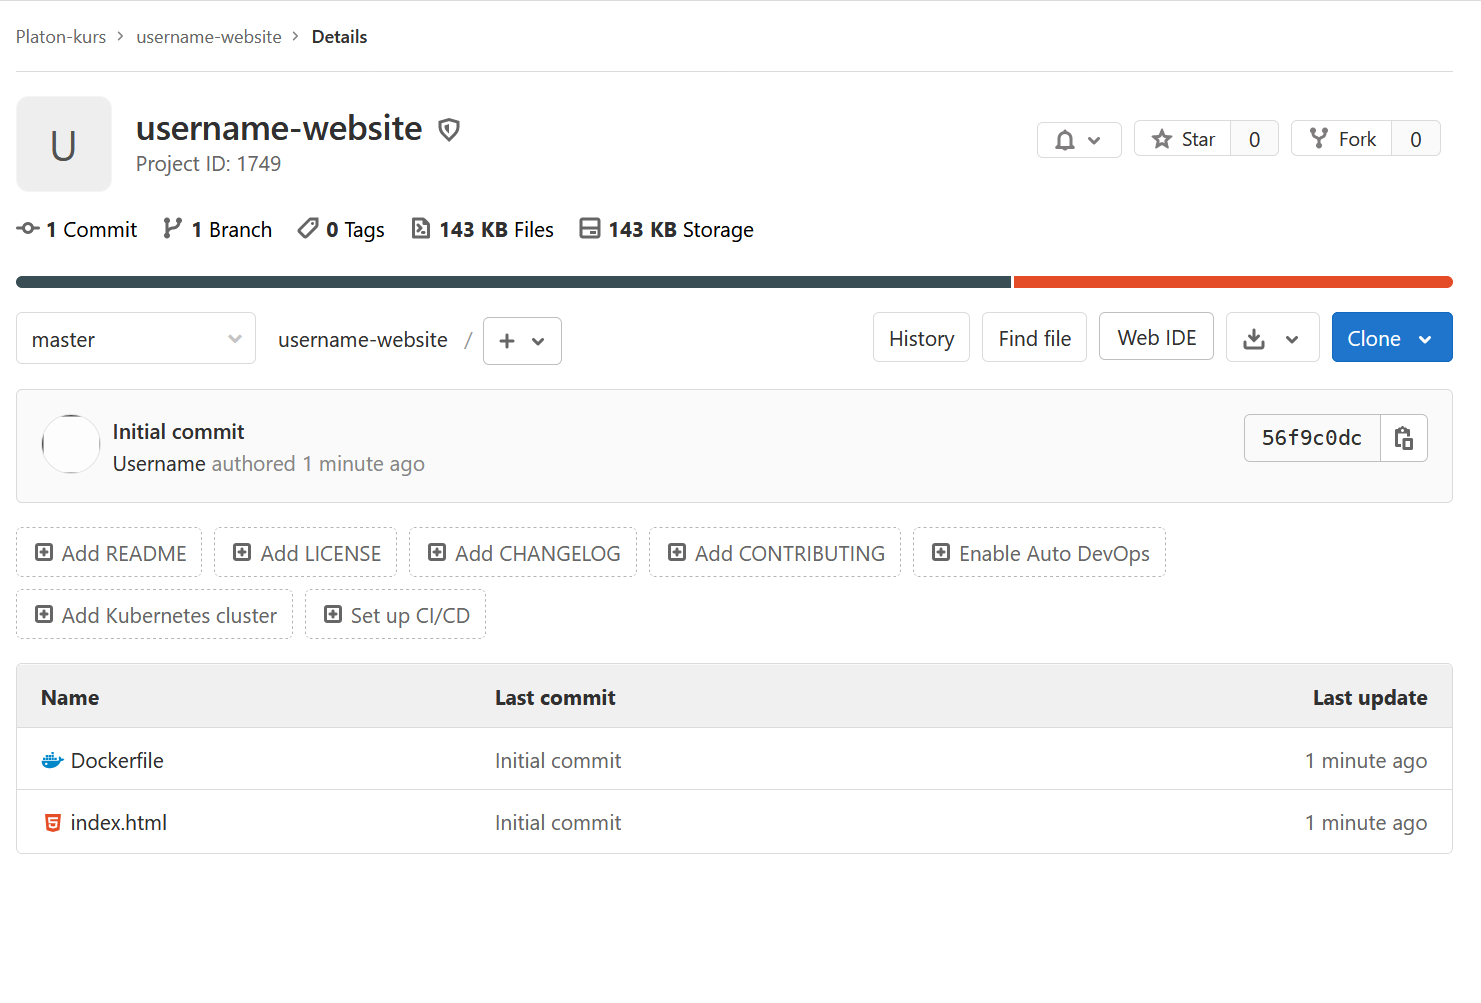
If you refresh the project web page in GitLab, you should now see the two files you created (Dockerfile and index.html):
Enable Kubernetes integration
Before GitLab can deploy the project to Kubernetes, the configuration in both your GitLab project and in Kubernetes must be updated. We have created the Platon PaaS console to handle this.
The Platon PaaS Console will:
- Create two namespaces for your project in Kubernetes, one for development workloads and one for production workloads.
- Add Kubernetes configurations in your GitLab project, which allows GitLab to communicate with Kubernetes.
- Creates an Amazon Elastic Container Registry (ECR) for your project.
- Add the GitLab CI/CD variable
CI_REGISTRY_IMAGEto your project containing the ECR URL.
You need at least maintainer access to a project in gitlab.sikt.no to be able to manage it in PaaS Console.
Go to console.paas.sikt.no and click the "Log in" button in the top-right corner of the page to log in.
Once you have logged in, you should be presented with a page with various information and a search field. Enter your project name in the search field and press "Enter". This gives you a list of search results. Locate your project in that list and click on it. This takes you to your project web page in the Platon Paas console:
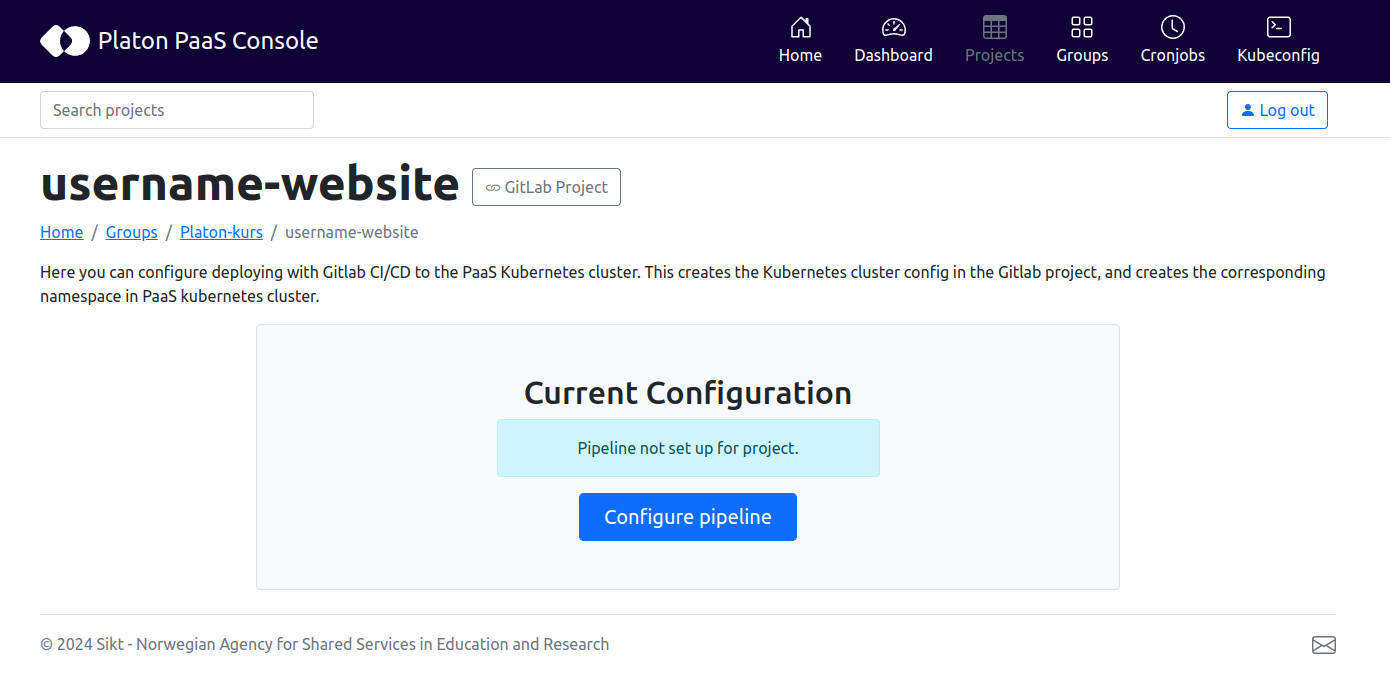
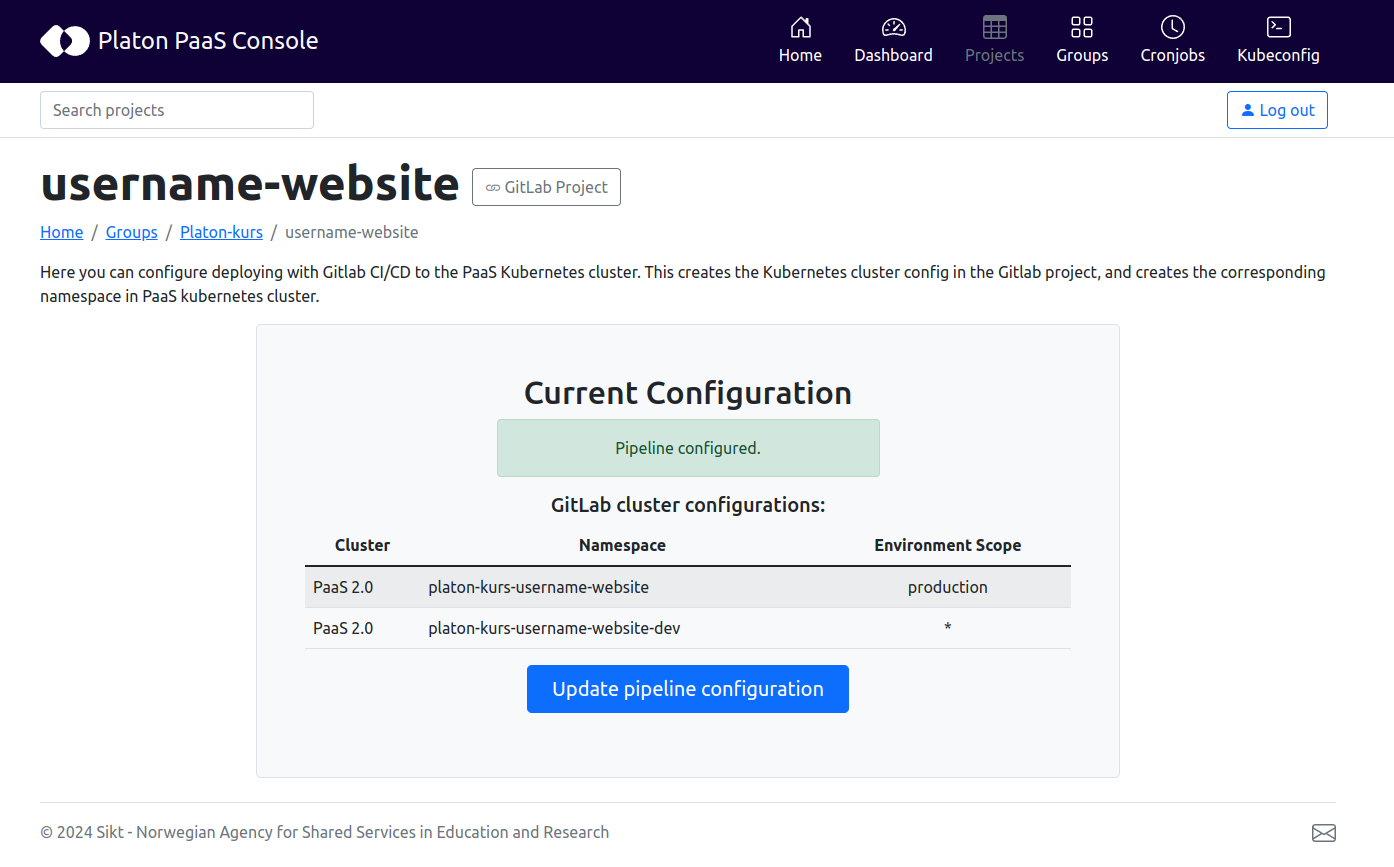
Click the "Configure pipeline" button to configure the Kubernetes integration for your project. After a few seconds the page should show the Kubernetes namespaces for your project:
Add configuration files
The only part that is remaining now is to add two files to your GitLab project:
deployment.yaml: A Kubernetes deployment manifest. This file describes how your service should run in Kubernetes..gitlab-ci.yml: A GitLab CI/CD configuration file. This file contains instructions for GitLab CI/CD describing how to build and deploy your project.
These files can be complicated, and we will not go through them in detail. For detail about the contents of the files, please look at the README file for the hello-world example.
A comprehensive walkthrough of .gitlab-ci.yml can be found at .gitlab-ci.yml
We are going to use the files from the hello-world example as a template for our project. You can view and download these files from GitLab using the following links:
Here you can view the contents of the files and download a copy:

Download these files to your project directory.
Many browsers strip the leading . so make sure to rename gitlab-ci.yml back to .gitlab-ci.yml if this happens.
The deployment.yaml-file can be used without modifications.
We do however need to make a few changes to .gitlab-ci.yml.
Open .gitlab-ci.yml in a text editor and take a look at the variables-block in the beginning of the file:
variables:
  KUBE_PROD_DOMAIN: hello.examples.platon.sikt.no
  KUBE_TEST_ID: hello
The KUBE_PROD_DOMAIN and KUBE_TEST_ID fields control the domain name that this web site is deployed to.
You cannot use the same domain names as the hello-world example, so you need to change these fields to something unique for your web site.
For example username-website:
variables:
  KUBE_PROD_DOMAIN: username-website.sokrates.edupaas.no
  KUBE_TEST_ID: username-website
If you do not update the name to something unique, you will get a deploy error as the cluster will refuse to create ingress resources with a host and path combination that already exist.
Also note that it is not recommended to use the default domain (sokrates.edupaas.no) for customer-facing services in production.
Save the file after you have made the changes. Next you need to add them to your project.
Run git status in your project directory to see the current status of your project:
$ git status
On branch master
Your branch is up to date with 'origin/master'.

Untracked files:
  (use "git add <file>..." to include in what will be committed)
        .gitlab-ci.yml
        deployment.yaml

nothing added to commit but untracked files present (use "git add" to track)
Here you can see that there are two new files in your project. You need to commit these files to Git locally and push the changes to GitLab:
- Add them to Git:
git add .gitlab-ci.yml deployment.yaml - Commit the changes:
git commit(You will have to enter a commit message, for example "Add deployment configuration".) - Push the changes to GitLab:
git push
The output should look like the following:
$ git add .gitlab-ci.yml deployment.yaml
$ git commit
[master 3edcd43] Add deployment configuration
 2 files changed, 108 insertions(+)
 create mode 100644 .gitlab-ci.yml
 create mode 100644 deployment.yaml
$ git push
Enumerating objects: 5, done.
Counting objects: 100% (5/5), done.
Delta compression using up to 8 threads
Compressing objects: 100% (4/4), done.
Writing objects: 100% (4/4), 1.28 KiB | 1.28 MiB/s, done.
Total 4 (delta 0), reused 0 (delta 0)
To gitlab.sikt.no:platon-kurs/username-website.git
   56f9c0d..3edcd43  master -> master
Refresh your project page in GitLab to see the new files:
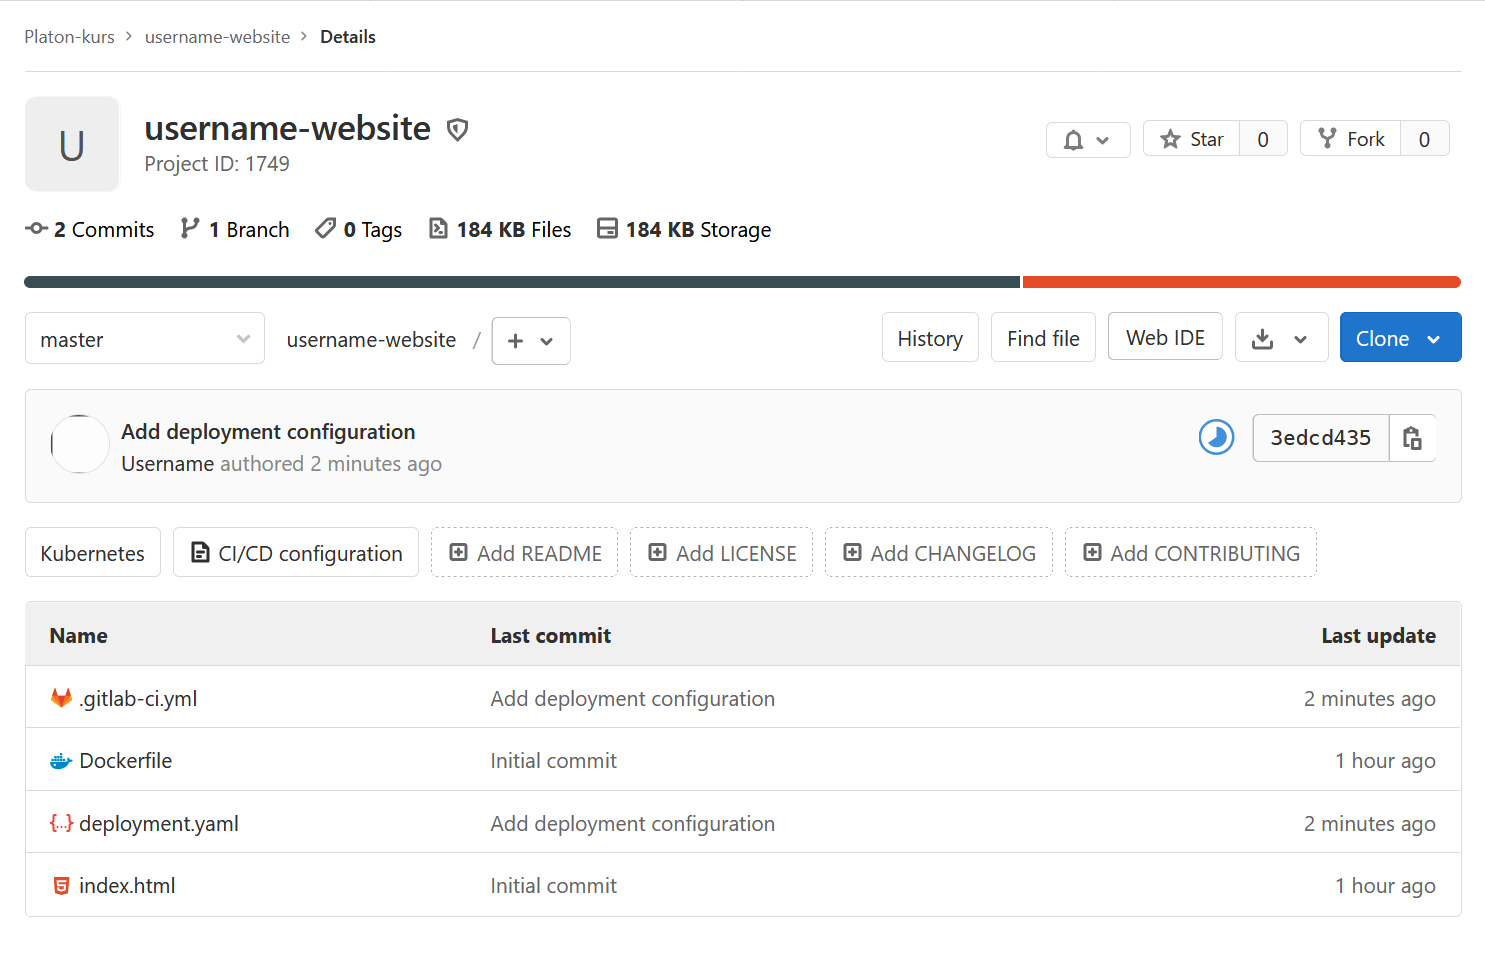
In the central box showing your last commit you should also see a badge indicating the status of GitLab CI/CD for your project.
When you push new changes to your project, GitLab CI/CD will create a pipeline for your project.
The pipeline executes the various tasks that are defined in .gitlab-ci.yml.
The different badges are:
![]()
- The blue badge indicating that GitLab CI/CD is currently running the pipeline for your changes.
- The green badge indicates that GitLab CI/CD has completed the pipeline for your changes.
- The red badge indicates that something went wrong with the pipeline.
Click the badge to see details for the pipeline. You can also or navigate to it using "CI / CD -> Pipelines" in the menu on the left hand side of the screen, and then clicking on the badge at the left of your latest pipeline. This should take you to a page with pipeline details:
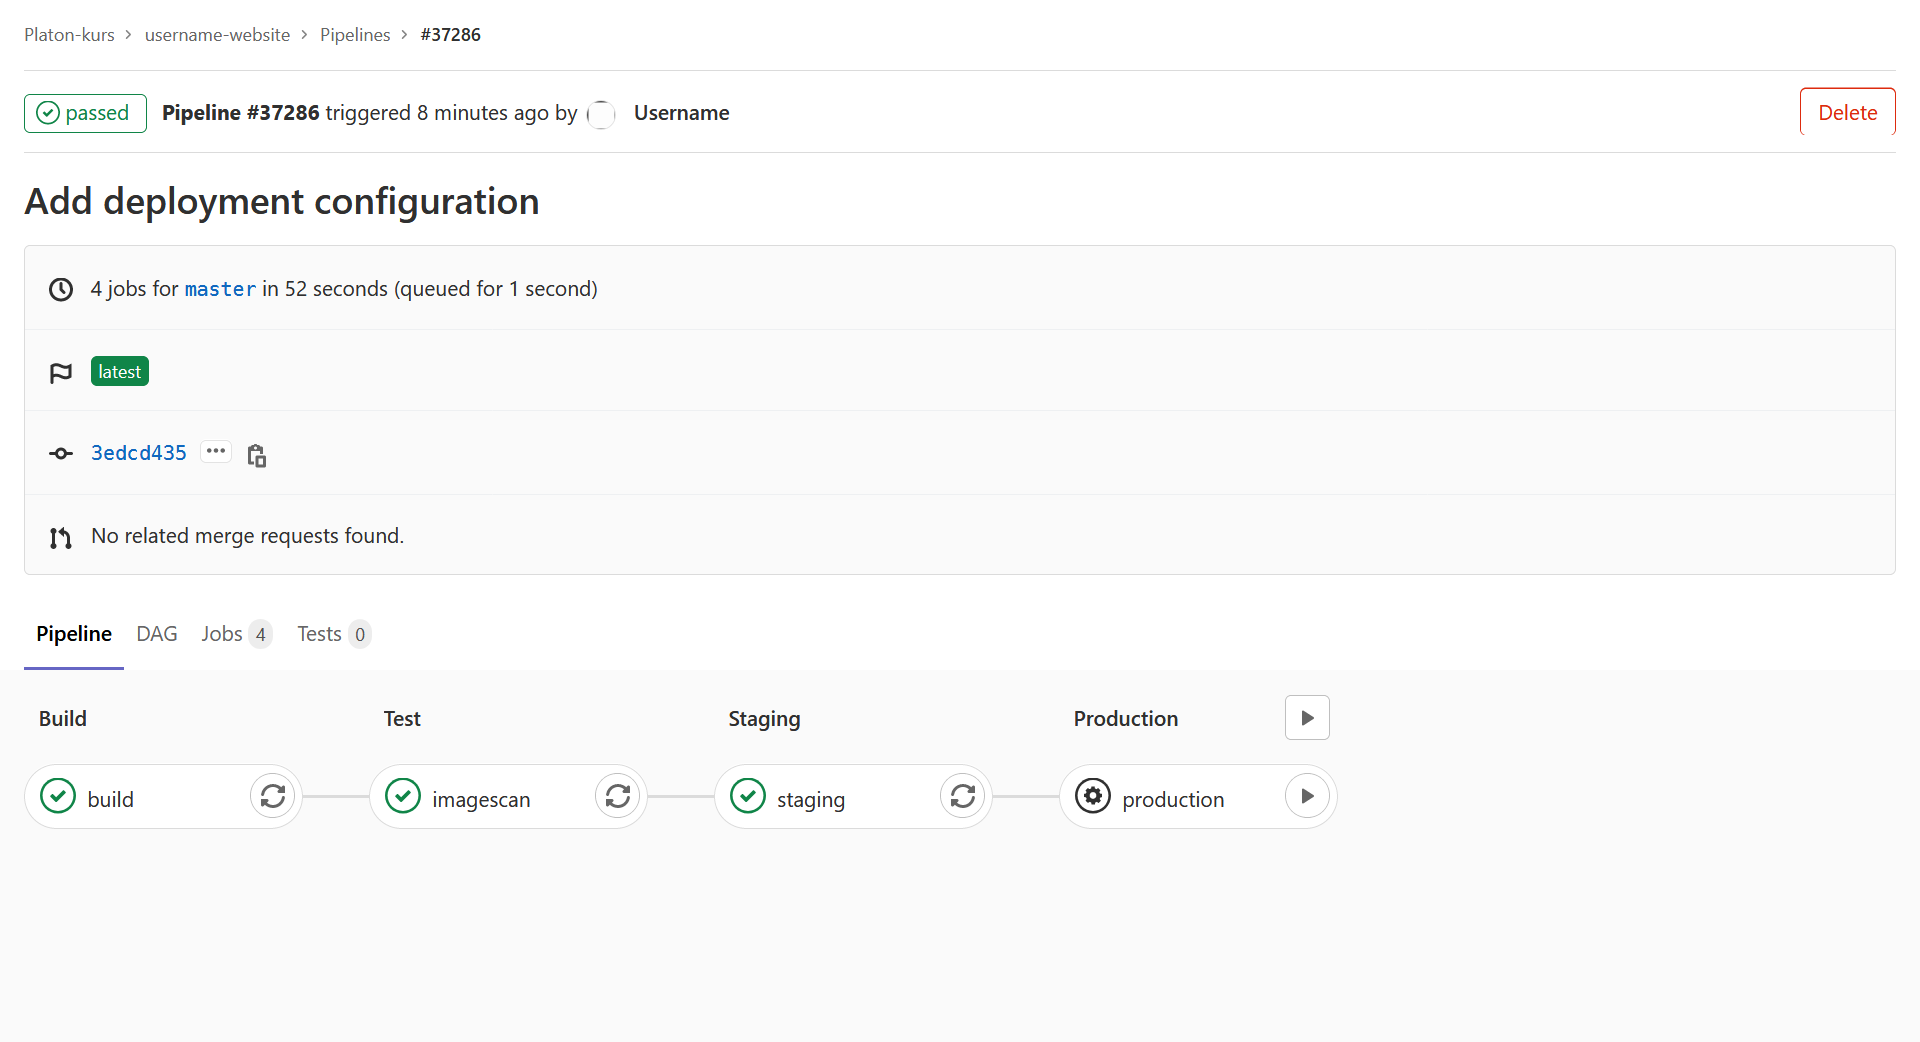
If everything worked, you should see something like the above. If something went wrong, and one of the jobs have failed, you can click on that job to get details about the failure.
Assuming that everything went well, you can see that GitLab has executed three jobs in the pipeline:
- build: Build the container image for your web site.
- imagescan: Scans your container image for vulnerabilities.
- staging: Deploys a staging version of your web site.
The last job (production) does not run automatically, but waits for manual approval.
If you click on the staging job, you will receive a page showing the log output from that job. At the end of that output you should see something like:
Application is accessible at: https://username-website-staging.sokrates.edupaas.no
Job succeeded
This shows the URL where GitLab has deployed the staging version your web site. Go to that URL to view your web site.
Once you have made sure that the staging version works, you can deploy the same version to production. Go back to the pipeline status page and click the "play" button next to the production job.
This starts the production job, which will deploy the site to production. Click on the job to see log output from it. Once the job completes, you should see a line in the log output indicating that the web site is deployed to the production URL:
Application is accessible at: https://username-website.sokrates.edupaas.no
Job succeeded
If you go to that URL you should see the same web site.